Indoor Seed Starting Made Easy!
There’s something deeply satisfying about starting seeds indoors.
In the quiet weeks of late winter, when the garden outside is still resting, indoor seed starting brings a glimpse of spring and a bit of promise for the growing season to come.
For many gardeners, especially those of us living in colder climates, starting seeds indoors allows us to get a head start on the growing season. Instead of waiting for warm soil outdoors, we can nurture tiny seedlings inside and transplant them once the weather cooperates.
Here in Zone 5a, we’ve been known to have snow on the ground well into May.
While starting seeds indoors for beginners may seem intimidating at first, with a few basic supplies and a little patience, it quickly becomes one of the most rewarding parts of the gardening season.
In this guide, I’ll walk you through exactly how to start seeds indoors, step by step.
What Is Indoor Seed Starting?
Indoor seed starting simply means germinating and growing seeds inside your home before moving them outdoors into the garden.
Seeds are planted in small trays filled with seed-starting mix and kept in a warm, well-lit space until they are strong enough to be transplanted outside.
This process allows us to:
- Extend the growing season
- Grow crops that require a longer time to mature
- Control early growing conditions
- Get a head start on spring planting
Instead of purchasing young plants from a garden center, you can grow your own seedlings from the very beginning, which, in my opinion, is one of the most fulfilling parts of gardening.
Why Start Seeds Indoors?
While many plants can be directly sown into the garden, starting seeds indoors offers several advantages.
1. A Longer Growing Season
For those of us gardening in northern climates, the outdoor growing season is short. Starting seeds indoors early gives plants several extra weeks to grow before transplanting.
2. More Variety
Seed catalogs offer far more options than garden centers. Growing plants from seed indoors allows you to choose heirloom vegetables, unique flowers, and specialty varieties.
3. Cost Savings
A single seed packet (typically $3–$5) can contain 100–250 seeds. Compared to buying individual nursery plants, starting seeds indoors is incredibly cost-effective.
4. Healthier Plants
When you start your own seeds, you control the soil, watering, and environment from the very beginning—often resulting in stronger, healthier plants.
And perhaps most rewarding of all, there is something deeply satisfying about watching a tiny seed grow into a full, thriving plant.
Essential Supplies for Starting Seeds Indoors
Pinterest may make indoor seed starting look complicated, but you only need a few basics.
Seed Starting Containers
You can use:
- Plastic cell trays
- Recycled yogurt containers
- Egg cartons
- Compostable seed trays
- Soil blocks
The most important factor is good drainage.
Seed Starting Mix
Use a lightweight seed-starting soil mix, not garden soil. These mixes are designed to retain moisture while allowing airflow around delicate roots.
Seeds
Choose seeds suited to your growing zone and what your family will actually eat. (Search your zip code + “growing zone” to find yours.)
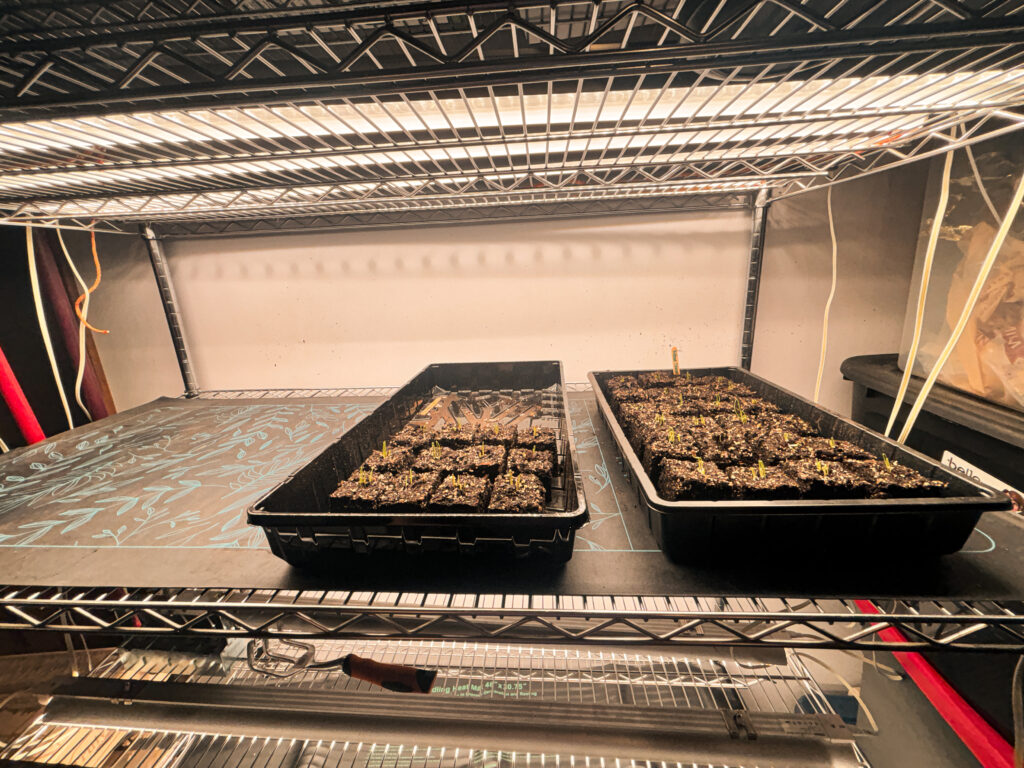
Grow Lights or Sunny Window
Seedlings need plenty of light. A south-facing window can work, but grow lights for seedlings often produce stronger, less leggy plants.
Heat Mat (Optional)
A seedling heat mat can help maintain warm soil temperatures and improve germination rates, especially for warm-season crops.
Watering Tools
A spray bottle or gentle watering can helps prevent disturbing delicate seeds and seedlings.
Can You Start All Seeds Indoors?
Not all plants benefit from starting seeds indoors.
Best Seeds to Direct Sow (Not Indoors)
- Carrots
- Radishes
- Beans
- Peas
- Corn
Best Seeds to Start Indoors
- Tomatoes
- Peppers
- Eggplant
- Broccoli
- Cabbage
- Cauliflower
- Herbs
- Flowers
Understanding which seeds to start indoors vs. outdoors is key to a successful garden.
When to Start Seeds Indoors
Timing is one of the most important parts of indoor seed starting.
Most seeds should be started 6–8 weeks before your last frost date.
To find your timing, search:
“last frost date + your zip code”
General Guidelines:
- Tomatoes: 6–8 weeks before last frost
- Peppers: 8–10 weeks before last frost
- Broccoli & cabbage: 6 weeks before last frost
Using a garden planner or app can help you stay organized with your seed starting schedule.
How to Start Seeds Indoors (Step-by-Step)
If you’re wondering exactly how to start seeds indoors, here’s a simple process:
- Fill containers with pre-moistened seed-starting mix
- Plant seeds at the correct depth (usually 2x their size)
- Water gently
- Place in a warm location
- Provide plenty of light once seedlings emerge
- Keep soil consistently moist
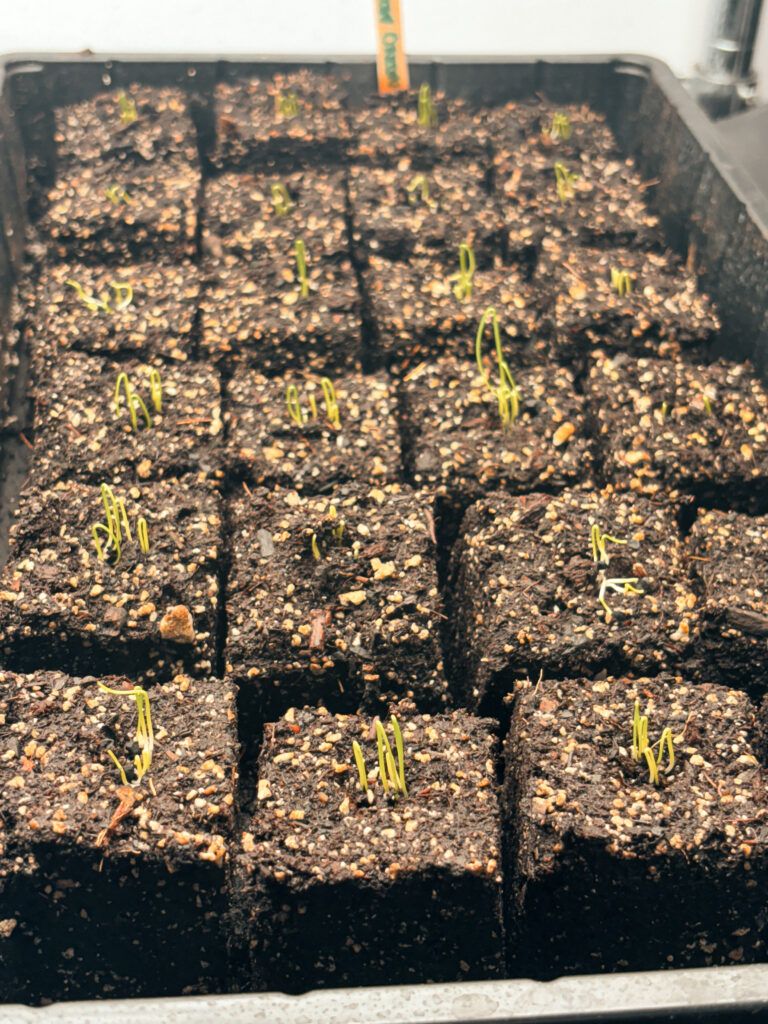
Within 1–2 weeks, you should begin to see sprouts.
Tip: Remove any humidity covers as soon as seeds sprout to prevent mold and fungal issues.
How to Use Seed Trays for Indoor Seed Starting
Seed trays are one of the easiest ways to start seeds indoors.
- Fill each cell with soil
- Plant 1–2 seeds per cell
- Water gently
- Place under light
Once seedlings develop true leaves, thin to the strongest plant.
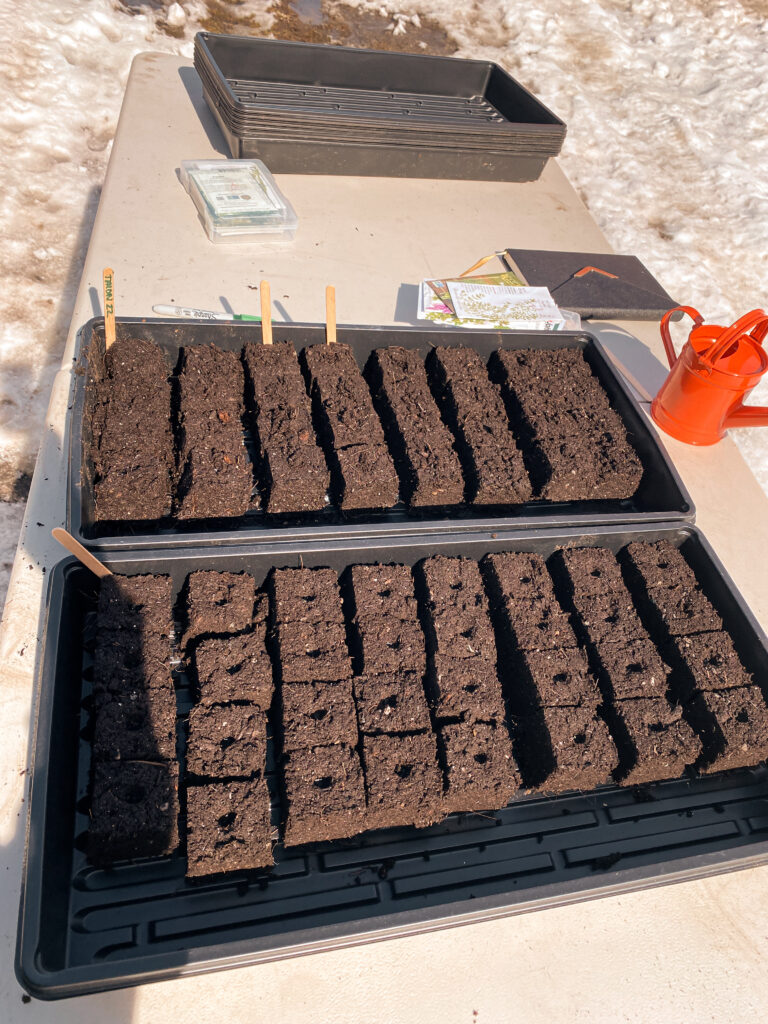
Soil Blocking for Seed Starting
Soil blocking is a method of starting seeds without plastic containers.
Benefits of Soil Blocking
- Reduces plastic waste
- Encourages strong root systems
- Prevents root binding through air pruning
How to Make Soil Blocks
- Mix soil to a thick consistency
- Press into a soil blocker
- Form blocks and place on a tray
- Add seeds to the top indent
Important: Always bottom water soil blocks to maintain their structure.
Here is the link to the soil blocker that I have
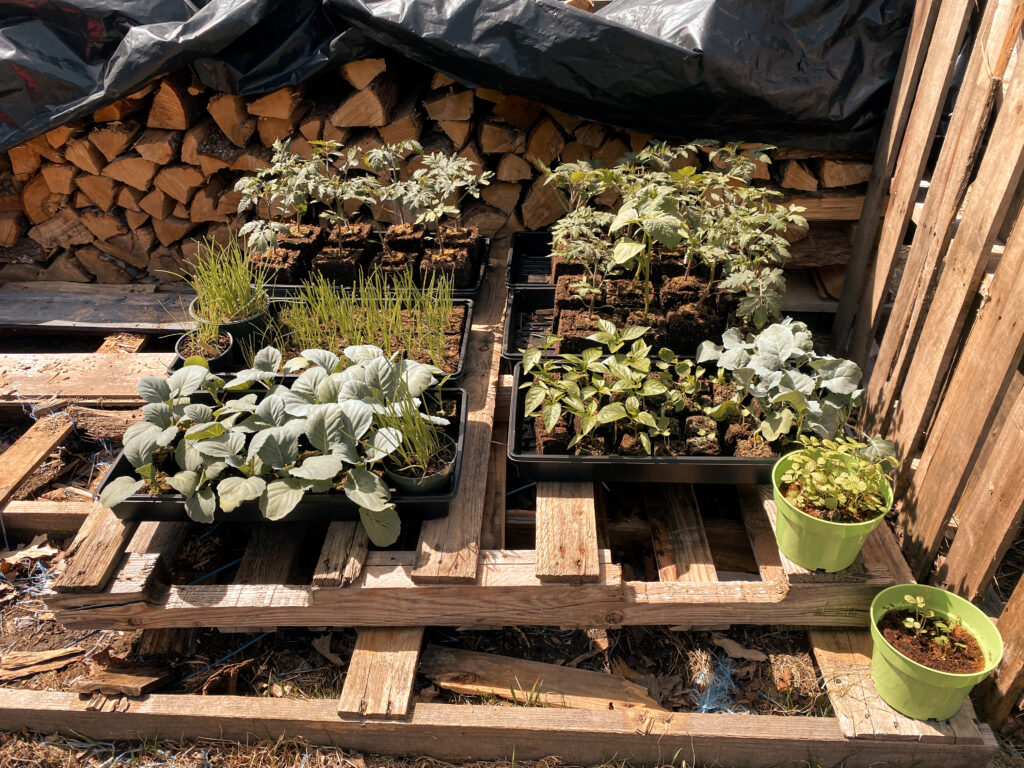
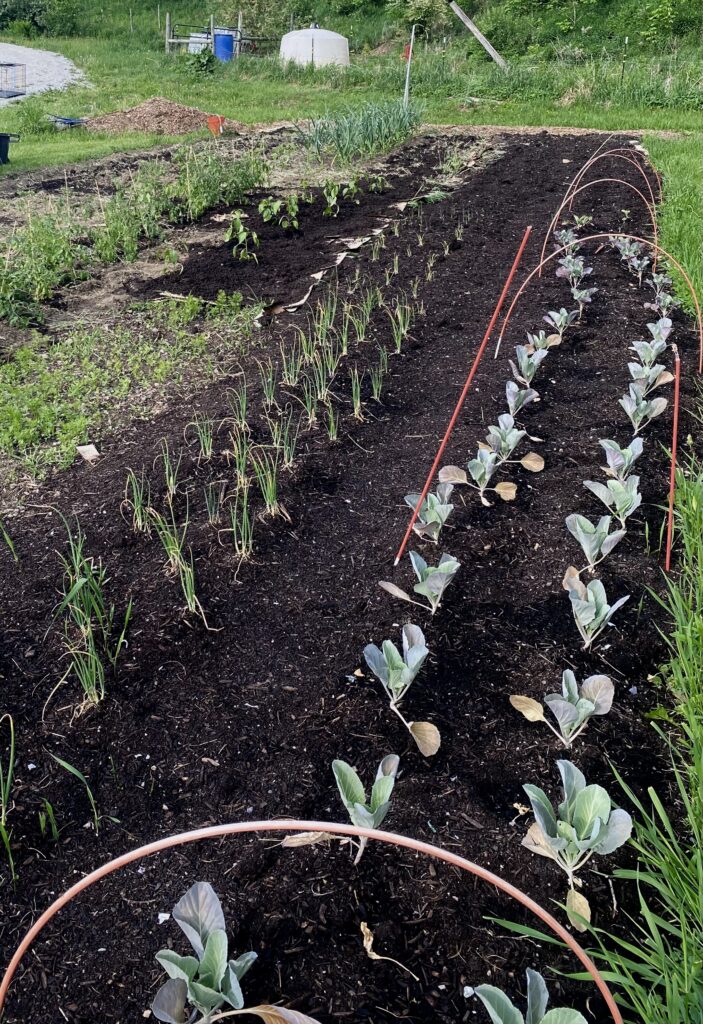
Hardening Off Seedlings Before Transplanting
Before transplanting, seedlings must adjust to outdoor conditions. This process is called hardening off seedlings.
Skipping this step can lead to transplant shock.
How to Harden Off Seedlings
- Start with 1–2 hours outside in a sheltered area
- Gradually increase time outdoors daily
- Slowly introduce direct sunlight
- Bring indoors at night if temperatures are cold
- After 10–14 days, seedlings are ready for transplanting
This step is essential for growing strong, resilient plants.
Pro Tips for Successful Indoor Seed Starting
#1 Pre-Moisten Your Soil
Pre-moistening ensures even water distribution and prevents dry pockets.
#2 Provide Enough Light
Keep grow lights just a few inches above seedlings to prevent legginess. Aim for 12–14 hours of light daily.
#3 Use Heat Mats for Warm Crops
Tomatoes, peppers, and eggplant benefit from warm soil during germination.
#4 Add Airflow
A small fan strengthens stems and reduces fungal disease.
#5 Bottom Water Seedlings
This keeps moisture consistent and protects delicate roots.
Potting Up Seedlings
As seedlings grow, they may outgrow their containers.
Potting up seedlings into larger containers allows for continued healthy growth and prevents root restriction before transplanting outdoors.
Conclusion: Starting Seeds Indoors for a Thriving Garden
Starting seeds indoors is one of the most rewarding parts of gardening.
In the quiet weeks before spring, it allows us to begin again and to nurture growth before the season fully arrives.
With a few simple supplies and a bit of intention, anyone can learn how to start seeds indoors successfully.
Whether you use seed trays, recycled containers, or soil blocks, the most important step is simply beginning.
Because every growing season is a chance to learn something new.
From our garden to yours,
Mercedes
Our Well Nourished Home
